
Table of Contents
- What You'll Need Before You Brew Bright Coffee
- A Repeatable Pour-Over Coffee Recipe for Bright Beans
- Coffee-to-Water Ratio: The Number That Decides Your Cup
- The Best Water Temperature for Coffee That Tastes Clean
- Coffee Grind Size for Pour-Over: Why Medium-Fine Wins
- How Processing Method Shapes Brightness in the Cup
- Troubleshooting Sour, Bitter, or Flat Cups
- Frequently Asked Questions
Last Updated: October 20, 2026
What You'll Need Before You Brew Bright Coffee
Brewing bright coffee beans for a clean morning cup starts with the right gear and fresh beans. At Gilded Grind, we keep the setup simple: a cone dripper, a gooseneck kettle, a burr grinder, a scale, and filtered water. That's it.
Bright beans reward precision. They show off fruity notes and acidity when you control the variables. Get them wrong and the cup turns sour or flat.
Here's what to gather before you start:
- Cone dripper and paper filters for a clean cup
- Gooseneck kettle for steady pouring
- Burr grinder for even grind size
- Digital scale to weigh dose and water
- Filtered water at the right temperature
- Fresh whole beans, ideally light roast
A common mistake is skimping on the grinder. A blade grinder leaves uneven chunks, so some grounds over-extract and others under-extract. A burr grinder fixes that.

A Repeatable Pour-Over Coffee Recipe for Bright Beans
The pour-over coffee recipe below is our go-to for bright beans. It's repeatable, fast, and built for a clean cup you can trust every morning. The numbers matter more than the ritual: a fixed dose, a fixed water weight, a fixed pour schedule, and a brew-time window you can check against the clock.
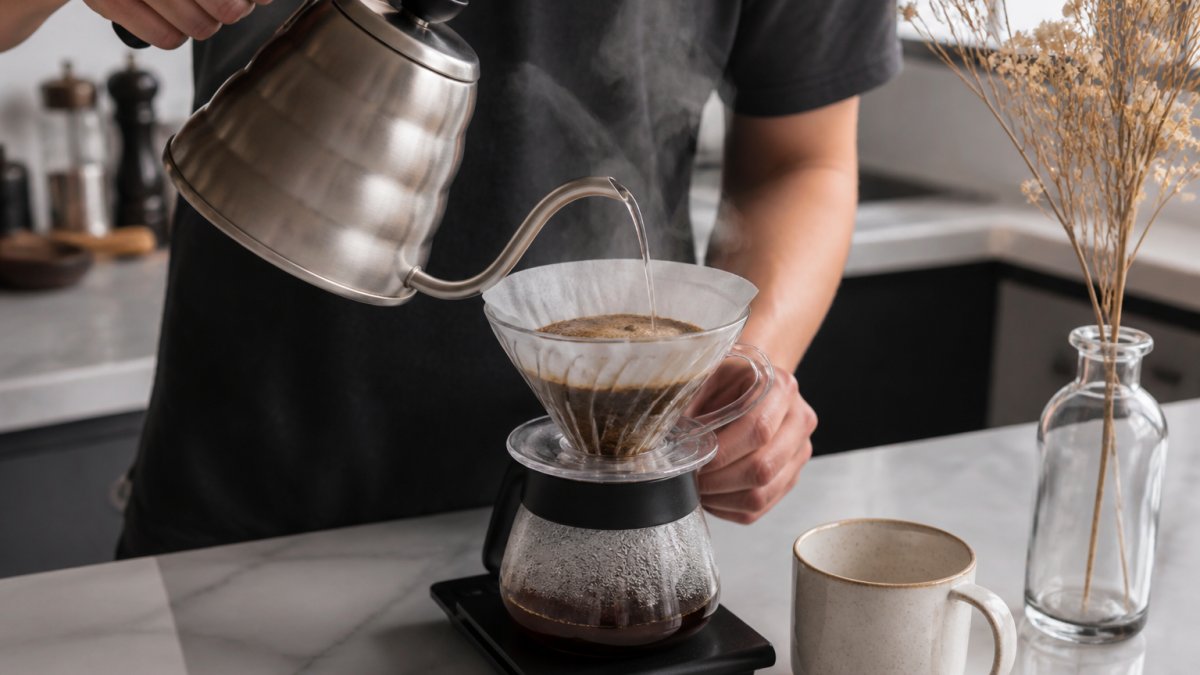
The Recipe at a Glance
| Variable | Setting |
|---|---|
| Dose | 15 g whole beans |
| Water | 250 ml filtered, at 93°C |
| Ratio | 1:16 |
| Grind | Medium-fine, like table salt |
| Total brew time | 2:45 to 3:15 |
| Target yield in cup | About 220 ml |
Step by Step: The Five-Minute Morning Method
- Heat water to 93°C. Start the kettle before you do anything else.
- Rinse the filter with hot water, then discard the rinse water. This removes paper taste and warms the dripper.
- Weigh 15 grams of freshly ground coffee into the rinsed filter and level the bed.
- Bloom with 50 milliliters of water, pouring just enough to saturate all the grounds. Wait 30 seconds. The bed will swell and release gas, that's normal.
- First pour: add water in slow circles from the center outward to reach 150 milliliters total. Keep the water level below the rim of the dripper.
- Second pour: once the bed settles, add water to reach 250 milliliters total. Aim to finish pouring by about 1:45.
- Let it drain fully. The last drops should fall between 2:45 and 3:15. If it finishes much earlier, grind finer next time; if it stalls past 3:30, grind coarser.
- Swirl and serve in a warm mug. Give the cup a minute to cool slightly, bright acidity reads more clearly as the coffee drops below scalding.
The whole ritual fits in a five-minute window. Start the kettle first, grind while it heats, and you'll never rush a step.
Why the Pour Schedule Matters for Bright Beans
Bright beans carry delicate floral and fruit notes that are easy to drown out. A controlled pour schedule keeps the water level steady, which keeps the bed temperature steady, which keeps extraction even. Pouring all at once floods the bed and pushes water through the sides of the filter, bypassing the coffee and leaving you with a thin, sour cup. Pouring in stages, with a short pause between them, gives the water time to contact every ground evenly.
For bright beans, we reach for a light roast like our Limu Ethiopia Light Roast, which brings floral and green tea notes that shine in a pour-over.
Scaling the Recipe
Once the 15 g / 250 ml version is dialed in, scale it cleanly: 20 g to 330 ml, or 30 g to 500 ml for two cups. Keep the ratio at 1:16 and the pour schedule proportional. A larger dose needs a slightly coarser grind to keep the same brew time, so adjust one notch coarser when you double the recipe.
Coffee-to-Water Ratio: The Number That Decides Your Cup
The coffee-to-water ratio is the single number that decides brew strength. For a bright, clean cup, start with 15 grams of coffee to 250 milliliters of water. That's roughly a 1:16 ratio.
Adjust from there:
| Ratio | Taste Result | Best For |
|---|---|---|
| 1:15 | Stronger, bolder | Darker roasts |
| 1:16 | Balanced, bright | Light roasts |
| 1:17 | Lighter, tea-like | Delicate floral beans |
Weigh your dose every time. A scoop varies wildly, and small changes swing the flavor more than you'd expect.
The Best Water Temperature for Coffee That Tastes Clean
The best water temperature for coffee sits between 90°C and 96°C. For bright beans, aim for 93°C. Water that's too cool under-extracts and tastes sour. Water that's too hot scorches delicate flavors and turns the cup bitter.
Use filtered water, too. Water quality guidance from the Specialty Coffee Association notes that mineral content shapes how flavors come through. Hard water mutes acidity; soft water can taste flat.
A simple kettle with a built-in thermometer removes the guesswork.
Coffee Grind Size for Pour-Over: Why Medium-Fine Wins
Coffee grind size for pour-over should land medium-fine, close to table salt. That texture lets water pass at the right speed: fast enough to avoid bitterness, slow enough to pull out sweetness.
Watch your brew time as a guide. If it drains in under two minutes, grind finer. If it stalls past four minutes, grind coarser.
How Processing Method Shapes Brightness in the Cup
Processing method shapes brightness before the beans ever reach your grinder. Washed process coffees tend to taste clean and bright, with clear acidity. Natural process beans lean sweeter and fruitier. Honey process sits between the two.
If you want a clean morning cup, washed beans are the safer bet. They let the bright coffee character come through without heavy fruit competing for attention.
Our Yirgacheffe Ethiopia Medium shows how a washed bean can deliver jasmine and bright orange zest in a balanced cup.

Troubleshooting Sour, Bitter, or Flat Cups
Sour, bitter, or flat cups almost always trace back to extraction. Fix the cause, not the symptom. The trick is to change one variable at a time and taste after each change, so you learn what each adjustment does to the cup instead of guessing.
Symptom-to-Adjustment Guide
| What You Taste | Likely Cause | First Adjustment | Second Adjustment |
|---|---|---|---|
| Sour, sharp, or thin | Under-extracted | Grind finer | Raise water temperature by 1-2°C |
| Bitter, drying, or ashy | Over-extracted | Grind coarser | Shorten brew time or lower temperature slightly |
| Flat or hollow | Stale beans or soft water | Check the roast date | Try filtered water with moderate mineral content |
| Muddy or silty | Too many fines | Grind coarser or upgrade the grinder | Rinse the filter more thoroughly |
| Weak but not sour | Ratio too long | Tighten the ratio toward 1:15 | Increase dose slightly |
The Order to Adjust In
Work through the variables in this order, because each one has a bigger effect than the next:
- Grind. It's the fastest lever and the easiest to reverse. Move one notch finer for sour cups, one notch coarser for bitter cups.
- Temperature. If grind alone doesn't fix it, nudge the water temperature. Bright beans are sensitive here, a couple of degrees can shift the cup noticeably.
- Ratio. Only after grind and temperature are dialed in should you change the dose or water weight.
- Water. If the cup still tastes flat after the first three, the water is the likely culprit. Hard water mutes acidity; very soft water can taste hollow.
A Side-by-Side Diagnostic
A controlled comparison is the fastest way to build instinct. Brew the same beans two ways, side by side, changing only the grind: one notch finer than your baseline and one notch coarser. Taste both against your usual cup. Most practitioners find the difference is obvious within a single session, and the exercise teaches you what "under" and "over" actually taste like on your own equipment.
Keep a short log, dose, water, grind setting, temperature, brew time, and a one-word taste note. After a week, patterns emerge: you'll see which adjustment your setup responds to most, and you'll stop chasing the same problem twice.
Frequently Asked Questions
What brewing method makes coffee taste clean and bright?
Pour-over with a cone dripper and paper filter gives the cleanest, brightest cup. The paper traps oils and fine particles that a metal filter or French press lets through, so fruity and floral notes come forward without muddiness. Use a medium-fine grind, water at 90-96°C, and a coffee-to-water ratio near 1:16. A glass brewer and gooseneck kettle make the pour steady and repeatable, which matters more than any single piece of gear.
Why does my bright coffee taste sour or sharp?
Sourness usually means under-extraction. The water moved through the grounds too fast, the grind was too coarse, or the water was too cool. Tighten the coffee grind size for pour-over slightly, raise your water temperature toward 96°C, and slow the pour. If the cup still tastes sharp after two adjustments, increase the dose by a gram or two. Change one variable at a time so you can tell what fixed it.
How fine should I grind coffee for a pour-over?
Aim for medium-fine, close to table salt. It should feel slightly gritty but not powdery. Too fine and the brew stalls and turns bitter; too coarse and the water runs straight through, leaving a thin, sour cup. Freshly ground beans make the biggest difference, so grind right before brewing. If you use a blade grinder, pulse in short bursts and accept a little inconsistency rather than over-grinding.
Is pour-over or French press better for a clean cup?
Pour-over wins for clarity. A paper filter removes oils and sediment, so bright coffee tastes crisp and the fruity notes stay distinct. French press keeps those oils, which adds body but can read as muddy with light, bright beans. If you want a heavier cup, French press is fine; for a clean morning cup where acidity and aroma lead, pour-over with filtered water and a steady pour is the more reliable choice.
Building a clean, repeatable morning cup takes good beans and a steady hand. Gilded Grind makes the bean side easy with freshly roasted, nature-inspired selections, from bright light roasts to convenient bundles. Explore our Light Roast Coffee Bundle to compare origins, and let every pour become a moment worth savoring.


