
Table of Contents
- Before You Dial In: Set Up Your Espresso Station
- Espresso Brew Ratio: Why 1:2 Is Your Starting Point
- Espresso Grind Size: The Adjustment That Does the Most
- Espresso Shot Time: Reading the Clock and the Flow
- Tasting Your Espresso: Sour, Bitter, Balanced
- Espresso Extraction Troubleshooting: Channeling and Puck Prep
- Dialing In by Single Origin: Light Roasts and Unusual Profiles
- Conclusion
- Frequently Asked Questions
Last Updated: October 19, 2026
Before You Dial In: Set Up Your Espresso Station
Learning to dial in espresso with single origin beans starts with one honest truth: single origins punish sloppy setups and reward small, deliberate changes. At Gilded Grind, we hear from home brewers who chase grind settings for weeks when the real problem was an inconsistent dose or a cold portafilter. Fix the station first, and every adjustment after that actually means something.
A single origin coffee is a lot harvested from one region, farm, or cooperative rather than a blend of several. That traceability is the point: the cup shows one place's character, which makes it a superb teacher when you dial in espresso.
What You'll Need
- A burr grinder with stepless or fine-step adjustment
- A digital scale accurate to 0.1 g
- A scale-friendly espresso machine and a portafilter that fits it
- A distribution tool or a straightened paper clip
- A tamp that matches your basket size
- A small notebook or a notes app for logging recipes
Your Starting Recipe
Pick one number for each variable and write it down. A common approach is 18 g in the basket, aiming for roughly 36 g out. Keep that fixed while you change only the grind. Without a baseline, you are guessing twice per shot.
Espresso Brew Ratio: Why 1:2 Is Your Starting Point
Espresso brew ratio is the weight of your liquid output divided by the weight of your dry dose. A 1:2 ratio means 18 g of ground coffee produces about 36 g of espresso. It is the standard starting point because it balances sweetness and body across a huge range of beans.
Think of the ratio as your recipe's skeleton. Dose and yield stay put; grind and time move around them. If a shot tastes thin and sharp, a slightly tighter ratio (closer to 1:1.5) adds body. If it tastes muddy and heavy, open it toward 1:2.5 and see what the cup reveals.
| Variable | Starting Point | What It Controls |
|---|---|---|
| Dose | 18 g | Strength and basket depth |
| Yield | 36 g | Body and concentration |
| Ratio | 1:2 | Balance of sweet to sharp |
| Grind | Medium-fine | Flow rate and contact time |
| Shot time | 25-30 seconds | Extraction window |
Espresso Grind Size: The Adjustment That Does the Most
Espresso grind size is the single most powerful lever you have, and it is the one most people misuse. Finer grinds slow the flow and pull more flavor out of the bean. Coarser grinds speed things up and pull less. Everything else in your recipe is a supporting actor.
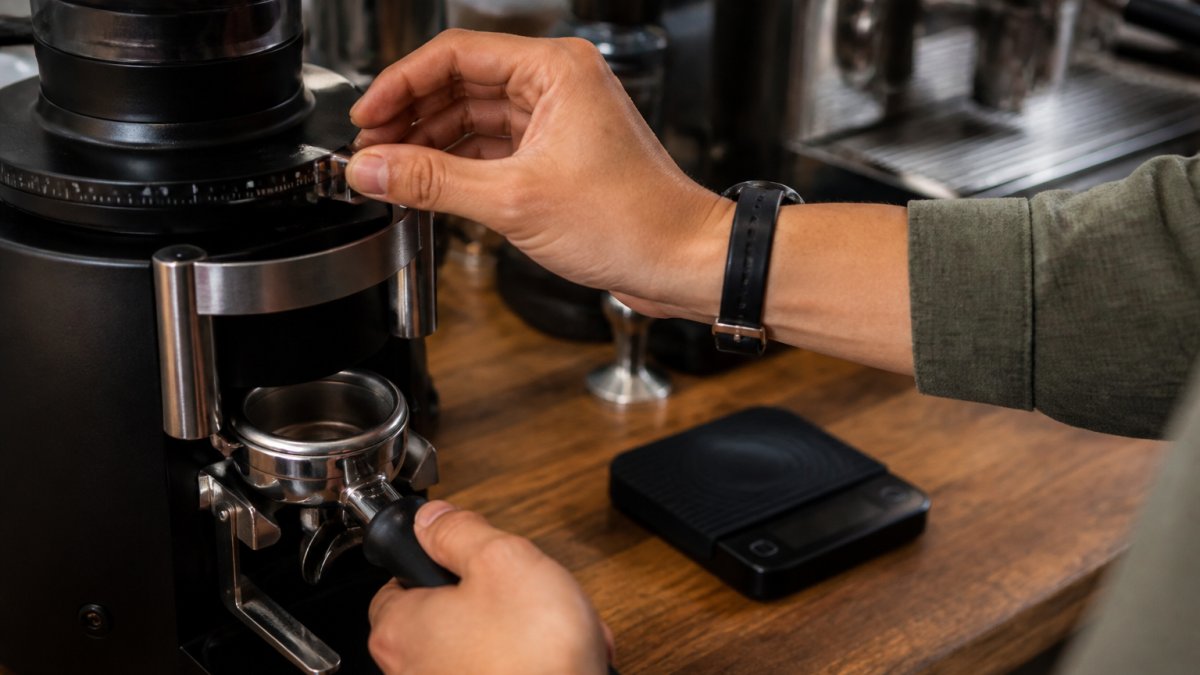
Here is the discipline that separates calm dialing from chaos:
- Change the grind in the smallest increment your grinder allows
- Pull one shot, taste it, then decide
- Never change grind and dose in the same shot
- Write down the setting, even the ones that fail
A common mistake is a huge grind jump after one bad shot. That swing tells you nothing except that you overshot. Small steps, one at a time.
Espresso Shot Time: Reading the Clock and the Flow
Espresso shot time is the span from when you start the pump to when you stop the shot at your target yield. Many brewers aim for 25 to 30 seconds on a 1:2 ratio, but treat that as a starting window, not a rule. The clock is a diagnostic, not a target.
Watch the flow as much as the timer. A healthy shot starts slow, turns into a thin dark stream, then lightens and thickens into a slow drip. If it gushes pale from the first second, the grind is too coarse. If nothing comes out after several seconds, it is too fine.
Shot consistency comes from repeatability. Same dose, same yield, same basket, same tamp. When those are locked, timing differences actually mean something.
Tasting Your Espresso: Sour, Bitter, Balanced
Taste is the final judge, and it speaks in two directions. Sour, sharp, or salty notes usually mean under-extracted: the water moved too fast or the grind was too coarse. Bitter, dry, or ashy notes usually mean over-extracted: too fine, too slow, too long. Balanced espresso tastes sweet and rounded, with acidity that lifts the cup rather than stabbing it.
But "sour means grind finer" is where most guides stop, and it is where most home brewers get stuck. Single origins throw more variables at you than blends do, so the useful skill is routing a specific symptom to the right lever instead of defaulting to grind every time.
Read the Shot Before You Taste It
Taste and flow tell you different things, and you need both before you change anything.
Yirgacheffe Ethiopia | Medium →
- Gushes pale from the first second, tastes sour and thin: under-extracted and flowing too fast. Grind is the first lever.
- Barely drips, takes 40+ seconds, tastes bitter and dry: over-extracted and choking. Grind coarser first.
- Starts slow, then blond streaks and a soggy crater: channeling, not a grind problem. Fix puck prep before touching the dial.
- Looks fine, tastes sour and weak: extraction is low relative to strength. Open the yield slightly before grinding finer.
- Looks fine, tastes bitter and hollow: extraction is high. Tighten the yield or drop temperature a degree or two.
- Tastes both sour and bitter at once: almost always channeling or an uneven puck. Go to the troubleshooting section.
A Flavor-to-Adjustment Decision Tree
Work down this list in order. Change one lever, pull one shot, taste, then decide.
- Sour and thin, fast flow. Grind finer in the smallest step your grinder allows. Keep dose and yield fixed.
- Sour and strong, normal flow. The shot is concentrated but under-extracted. Open the yield by 2-4 g at the same grind and dose.
- Sour and strong, slow flow. Grind coarser to speed flow, then open the yield slightly. Do not do both in one shot.
- Bitter and dry, slow flow. Grind coarser. Keep the same yield.
- Bitter and weak, normal flow. Tighten the yield by 2-4 g at the same grind.
- Balanced but flat. Try a slightly longer yield at the same grind, or raise temperature 1-2 °C if your machine allows it.
- Balanced but harsh or ashy on the finish. Check water temperature stability and bean age before changing the recipe.
- Sour and bitter together, blond streaks. Stop adjusting grind. Fix distribution and tamp.
When Grind Is Not the Answer
Grind does the most work, but it is not always the right next step. Reach for these levers when the symptom points there:
- Yield (ratio): the fastest way to shift strength without touching flow. Open it for sour-and-strong, tighten it for bitter-and-weak.
- Temperature: raise it 1-2 °C when a shot tastes balanced but flat or under-sweet; lower it when the finish turns ashy. Keep it steady shot to shot, a wandering temperature reads as an inconsistent grind.
- Dose: change it only when you also re-baseline yield and grind. A dose change without a ratio change confuses the diagnosis.
- Puck prep: if the shot tastes sour and bitter at once, or the stream blonds early, grind changes will just chase a preparation problem.
Espresso Extraction Troubleshooting: Channeling and Puck Prep
Channeling is water finding a weak path through the coffee puck instead of flowing evenly through it. The result is a shot that tastes both sour and bitter at once, with blond streaks in the stream and a soggy crater in the puck.
Puck preparation is your defense. Distribute the grounds level before you tamp. Tamp straight down with firm, even pressure, then stop. Polishing the puck with extra spins adds nothing.
- Level the bed with a distribution tool or a light shake
- Tamp once, straight, and lift cleanly
- Keep the basket rim and shower screen clean
- Use a basket that matches your dose
If channeling keeps appearing, check your grinder for clumps and your basket for wear.
Dialing In by Single Origin: Light Roasts and Unusual Profiles
Single origins need their own dialing strategy because they vary more than blends. A light roast from a high-elevation region often wants a finer grind and a slightly longer ratio to open up its sweetness. A medium or medium-dark bean usually settles in faster and forgives more.

Our Limu Ethiopia Light Roast brings bright floral and green tea notes, and it rewards a patient, finer grind. The Yirgacheffe Ethiopia Medium shows jasmine and berry sweetness that shines at a classic 1:2. For a rounder, chocolate-leaning cup, the Betulia Colombia Medium-Dark gives sugar cane and lime with a clean finish.


Freshness, Water, and Temperature
Bean freshness matters more than most guides admit. Beans that are days off the bag can gush and taste sharp; beans that have settled for a week or two often dial in more predictably. Rest your beans and note the date.
Water chemistry and temperature finish the job. Use filtered water, and keep brew temperature steady. Small shifts here change extraction as much as a grind step.
Conclusion
Dialing in single origin espresso is a skill built on small, recorded changes, not lucky guesses. Start with a fixed dose and a 1:2 ratio, adjust grind in tiny steps, and let taste decide. When you want beans worth the effort, our Gilded Grind collection offers single origins across roast profiles, each crafted for moments worth savoring. Shop the collection and pull your next shot with intent.
Frequently Asked Questions
How do I adjust espresso grind size for single-origin beans?
Start with a medium-fine setting and pull a shot at your chosen dose and 1:2 brew ratio. If the shot runs fast and tastes sour, move the grinder one step finer. If it runs slow and tastes bitter or dry, go one step coarser. Change only the grind, keep dose and yield fixed, and pull another shot. Single origins often need a finer setting than blends because light roasts resist extraction, so expect to make two or three small moves before the shot lands in range.
What espresso ratio should I start with for single-origin coffee?
Begin at a 1:2 brew ratio: 18 grams of ground coffee in, about 36 grams of espresso out. That ratio gives you a clear read on the bean without drowning its character. Bright, light single origins like a Limu Ethiopia often taste better slightly longer, closer to 1:2.5, while a medium-dark Colombia can taste sweet and full at 1:2. Treat the ratio as a starting recipe, then adjust yield in small steps once grind size is close.
How can I tell if an espresso shot is under-extracted or over-extracted?
Taste is the clearest signal. Under-extracted espresso tastes sharp, sour, or salty and finishes thin, which usually means the shot ran too fast or the grind is too coarse. Over-extracted espresso tastes bitter, dry, or ashy and leaves a harsh finish, which points to a shot that ran too long or a grind that is too fine. Note the shot time and yield alongside the flavor so you can match the taste to the number before you change anything.
Why does my espresso taste sour or bitter?
Sour usually means the water moved through the puck too quickly to pull out the sweetness, so grind finer or extend the yield slightly. Bitter usually means too much was extracted, so grind coarser or shorten the yield. Check freshness too: beans past their peak or ground long before brewing both push flavor off balance. Change one variable at a time, taste, and record the result so you are not chasing the same problem twice.


