
Last Updated: October 22, 2026
Quick Summary
How to properly degas fresh roasted coffee beans involves allowing them to rest for 3 to 14 days depending on roast level and brew method, while storing them in airtight, opaque containers away from light and heat. Use the bloom test and daily tasting to confirm when degassing is complete and flavor has peaked.
- Light roasts need 3-5 days rest, medium roasts 5-10 days, and dark roasts 7-14 days before brewing.
- Espresso requires longer resting than filter or immersion methods because pressure amplifies the effect of residual CO₂.
- Store beans in airtight, opaque containers at room temperature around 20°C with 40-50% humidity.
- The bloom test shows degassing progress: vigorous bubbling means more rest needed, gentle bloom means ready to brew.
- Keep variables fixed when testing readiness daily, recording appearance, aroma, taste, and finish to find peak flavor.
Table of Contents
- Understanding Coffee Degassing and Why It Matters
- How Long to Let Coffee Beans Rest After Roasting
- How to Store Coffee Beans After Opening
- Coffee Degassing for Espresso vs. Filter Brewing
- Testing When Your Beans Are Ready to Brew
- Common Mistakes When Degassing Beans
- Frequently Asked Questions
Understanding Coffee Degassing and Why It Matters
Understanding how to properly degas fresh roasted coffee beans, the natural release of carbon dioxide (CO₂), is essential to great brewing. Beans absorb gases during roasting, and those gases need to escape before brewing.
Freshly roasted coffee beans release CO₂ continuously for days after roasting. If you brew too soon, excess gas creates uneven extraction. The water cannot reach all the grounds evenly.
A few days of patience transforms the cup, with sweeter flavor, fuller body, and a smoother finish.
How Long to Let Coffee Beans Rest After Roasting
Most coffee beans need 3 to 14 days of rest, depending on roast level and brew method. Lighter roasts degas faster, darker roasts take longer, and espresso demands more precision than filter brewing.
Rest controls gas release: too short and your brew tastes flat or sour; too long and beans lose brightness and aroma. The sweet spot is when degassing is mostly complete but the beans haven't staled.
Light Roasts: Faster Gas Release
Light roasts absorb less CO₂. They also have smaller, denser bean structures that let gas escape more quickly.
Test readiness by smelling the aroma: light roasts should smell vibrant and fruity. Muted means more time; sharp and almost floral means they're likely ready.
Our Light Roast Coffee Bundle includes Ethiopia Yirgacheffe and Costa Rica Finca Lum, both brilliant examples of how light roasts develop brightness during the resting period.

Medium Roasts: Balanced Timing
Medium roasts strike a middle ground. Most medium roasts reach optimal degassing between 5 and 10 days.
This is the most forgiving window: brew at day 5 if you're impatient or wait until day 10 for deeper development. Flavor stays balanced across the range.
The Huila Colombia Duo gives you both medium and dark roasts from the same region, so you can compare how resting time affects the same origin at different roast levels.
Dark Roasts: Extended Degassing
Dark roasts typically need 7 to 14 days to degas fully.
Brewing dark roasts too early produces harsh, bitter flavors and weak body. The gas interferes with water penetration. Wait longer, and the coffee becomes smooth, syrupy, and complex.
Our Sumatra G1 is a dark roast with syrupy body and smoky finish. This bean benefits from the full 10 to 14 day resting window. The longer you wait, the more the earthy and chocolate notes emerge.
How to Store Coffee Beans After Opening
Once you open your bag, storage becomes critical. Oxygen, light, heat, and humidity are the enemies of freshness; control these four factors and your beans stay vibrant through the resting period and beyond.
Airtight Containers vs. One-Way Valve Bags
One-way valve bags let CO₂ escape without letting oxygen in.
Once you're ready to brew regularly, transfer beans to an airtight container. Glass or ceramic works best. Metal tins are acceptable if they seal tightly. Avoid clear containers, light degrades flavor.
Never store beans in paper bags or open bowls, which expose them to oxygen and humidity and accelerate staling.
Temperature, Light, and Humidity Control
Store beans in a cool, dark place at room temperature (around 20°C), away from sunlight, heat sources, and fluctuating temperatures.
Aim for 40-50% humidity: above 60% risks moisture and mold, below 30% dries beans out. Most homes naturally fall in this range.
Keep beans away from strong odors. Coffee absorbs aromas from its environment. Store away from spices, cleaning products, and perfumes.
Coffee Degassing for Espresso vs. Filter Brewing
Espresso and filter coffee extract differently, so their degassing needs differ. Espresso forces hot water through a compact puck under pressure in 25 to 35 seconds, while filter methods pass or steep water over two to five minutes. That difference in contact time and pressure changes how much residual CO₂ interferes with the brew.
Why Pressure Makes Espresso Less Forgiving
In espresso, trapped CO₂ has nowhere to go but up through the puck. Under pressure it creates channels where water flows faster and leaves surrounding grounds under-extracted, producing a shot that looks promising but tastes sour, thin, or sharply acidic.
Filter brewing gives gas more room to escape: in a pour-over the bloom vents CO₂ before the main pour, and in immersion methods bubbles rise and disperse.
A Practical Timing Matrix by Roast and Brew Method
Use this as a starting point, then confirm with the readiness tests in the next section.
| Roast level | Espresso (rest days) | Pour-over / drip (rest days) | Immersion / French press (rest days) |
|---|---|---|---|
| Light | 5-7 | 3-5 | 3-5 |
| Medium | 7-10 | 5-8 | 5-7 |
| Dark | 10-14 | 7-10 | 7-10 |
Two patterns are worth noting. First, espresso consistently needs the longest rest at every roast level because pressure amplifies the effect of residual gas. Second, immersion methods are the most forgiving because the grounds stay in contact with water long enough for gas to vent during the steep itself.
Adjusting When the Matrix Doesn't Fit
A few variables shift these windows. Dense, high-grown beans hold gas longer, so add a day or two. Washed beans often settle faster than natural or honey-processed beans.
If you're new to espresso, start with a medium or dark bean at the longer end of its window; those profiles are more forgiving while you learn to read the signs of under- and over-resting.
Testing When Your Beans Are Ready to Brew
You don't need to guess. Test readiness with simple, repeatable methods, changing one variable at a time and comparing results across days rather than relying on a single check.
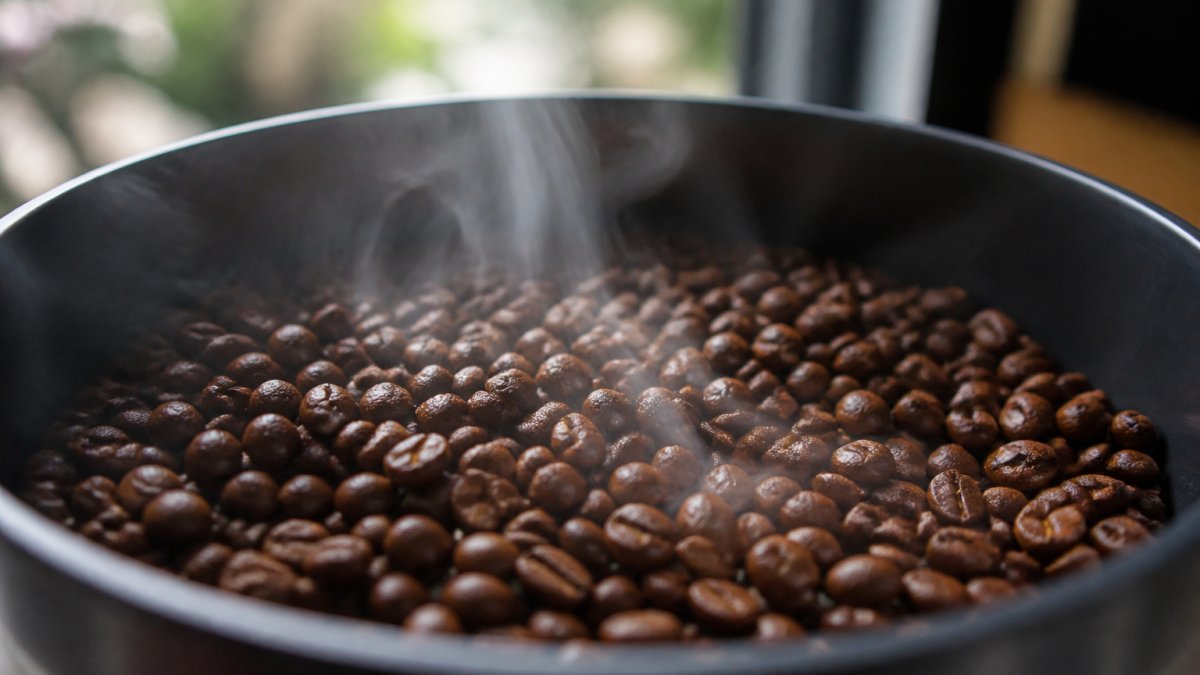
The Bloom Test: A Practical Readiness Check
The bloom test is the most reliable quick check of degassing progress:
- Grind a small amount of beans (about 15 grams)
- Pour just enough hot water to wet the grounds (about 30 milliliters)
- Wait 30 seconds
- Observe the bloom, the rise and fall of the coffee bed
If the bloom is vigorous and produces lots of bubbles, the beans still have significant CO₂. They need more resting time. If the bloom is gentle and controlled, degassing is mostly complete. The beans are ready to brew.
Perform this test every 2 to 3 days during resting. Once the bloom stabilizes and feels controlled, your beans are ready.
A Repeatable Day-by-Day Tasting Protocol
The bloom test tells you about gas. A tasting protocol tells you about flavor, extraction, and crema, which is what actually matters in the cup. Run it like a small experiment:
- Fix your variables. Use the same dose (for example, 18 grams for espresso or 20 grams for pour-over), the same grind setting, the same water temperature, and the same brew method every day.
- Brew once per day starting at the early end of your roast level's window.
- Record four things: how the brew looks (crema, bloom, flow), how it smells, how it tastes (sweet, sour, bitter, flat), and how it finishes.
- Look for the turning point. The day the sourness drops and sweetness rises is your readiness signal. If flavor goes flat and papery after that, you have passed peak.
A common pattern is a sharp, sour cup early in the window, a balanced cup in the middle, and a flatter cup at the end. Your job is to find the middle and brew there.
Troubleshooting Common Symptoms
| Symptom | Likely cause | Next step |
|---|---|---|
| Excessive bubbling or foaming during brew | Beans still heavily degassing | Wait 2-3 more days and retest |
| Sour, thin espresso with heavy crema | Under-rested beans, channeling | Extend rest, check puck prep and grind |
| Muted or flat flavor | Over-rested or stale beans | Brew sooner next bag; check storage |
| Uneven extraction, fast flow | Gas pockets in the puck | Rest longer; distribute grounds more evenly |
| Papery or cardboard taste | Oxygen exposure or moisture | Move to an airtight, opaque container |
Visual and Aroma Cues
Open the bag and observe the beans.
Smell the beans daily. Aroma is intense and sometimes sharp; over time it becomes more complex and inviting, with light roasts developing fruity and floral notes and dark roasts deeper chocolate and earthy tones.
When the aroma smells balanced and appealing rather than harsh or muted, your beans are likely ready. Trust your nose.
Common Mistakes When Degassing Beans
These are the mistakes we see most often.
Brewing too soon. The biggest one.
Storing in the wrong container. Paper bags and open bowls let oxygen in. Beans stale quickly.
Exposing beans to light. Clear containers look nice but damage flavor. Keep beans in opaque, airtight containers away from direct sunlight.
Grinding all beans at once. Ground coffee stales faster than whole beans.
Ignoring roast level. Light and dark roasts have different degassing timelines.
Overthinking the timeline. The resting periods we've outlined are guidelines, not laws.
Learning how to properly degas coffee beans transforms your brew. At Gilded Grind, we've built our collection around this principle, with beans like our Sumatra G1 and Light Roast Coffee Bundle designed to shine once they've completed their degassing journey.

Frequently Asked Questions
How many days should coffee beans rest before brewing?
Most beans reach optimal flavor between 3-7 days, though timing depends on roast level. Light roasts can be brewed after 2-3 days, medium roasts benefit from 4-5 days, and dark roasts often improve with 5-7 days of rest. This allows CO₂ to escape while flavor compounds develop. Plan accordingly for the best cup.
What does it mean for coffee beans to degas?
Degassing is the release of carbon dioxide (CO₂) that builds up inside beans. Beans are pressurized with gas, which affects extraction and flavor balance. As beans rest in open air or in containers with one-way valves, the CO₂ gradually escapes. This process allows the beans' natural flavors to develop and ensures even extraction when you brew, preventing sourness or bloating in the cup.
How should I store coffee beans after opening to maintain freshness?
Store opened beans in an airtight container away from heat, light, and moisture. Whole beans stay fresh for 2-4 weeks in sealed storage at room temperature. One-way valve bags work well for ongoing degassing during the first week, but transfer beans to an airtight container afterward to prevent oxidation. Keep them in a cool, dark cupboard rather than on the counter or near the stove, where heat and light degrade flavor quickly.
Does degassing affect espresso differently than filter coffee?
Yes. Espresso requires shorter degassing time because beans that have rested too long can produce inconsistent crema and weak body. Aim for 3-5 days for espresso, especially with darker roasts. Filter coffee tolerates longer resting periods (5-7 days) and can actually benefit from extended degassing, as slower extraction methods handle residual CO₂ better. Experiment with your brew method to find the sweet spot where flavor shines and extraction feels balanced.


